Skip to content
 Want specific aluminum tube shapes but unsure how they're made? Using the wrong manufacturing method can lead to high costs or parts that don't meet spec, hurting your project timeline. Extrusion offers a versatile solution.
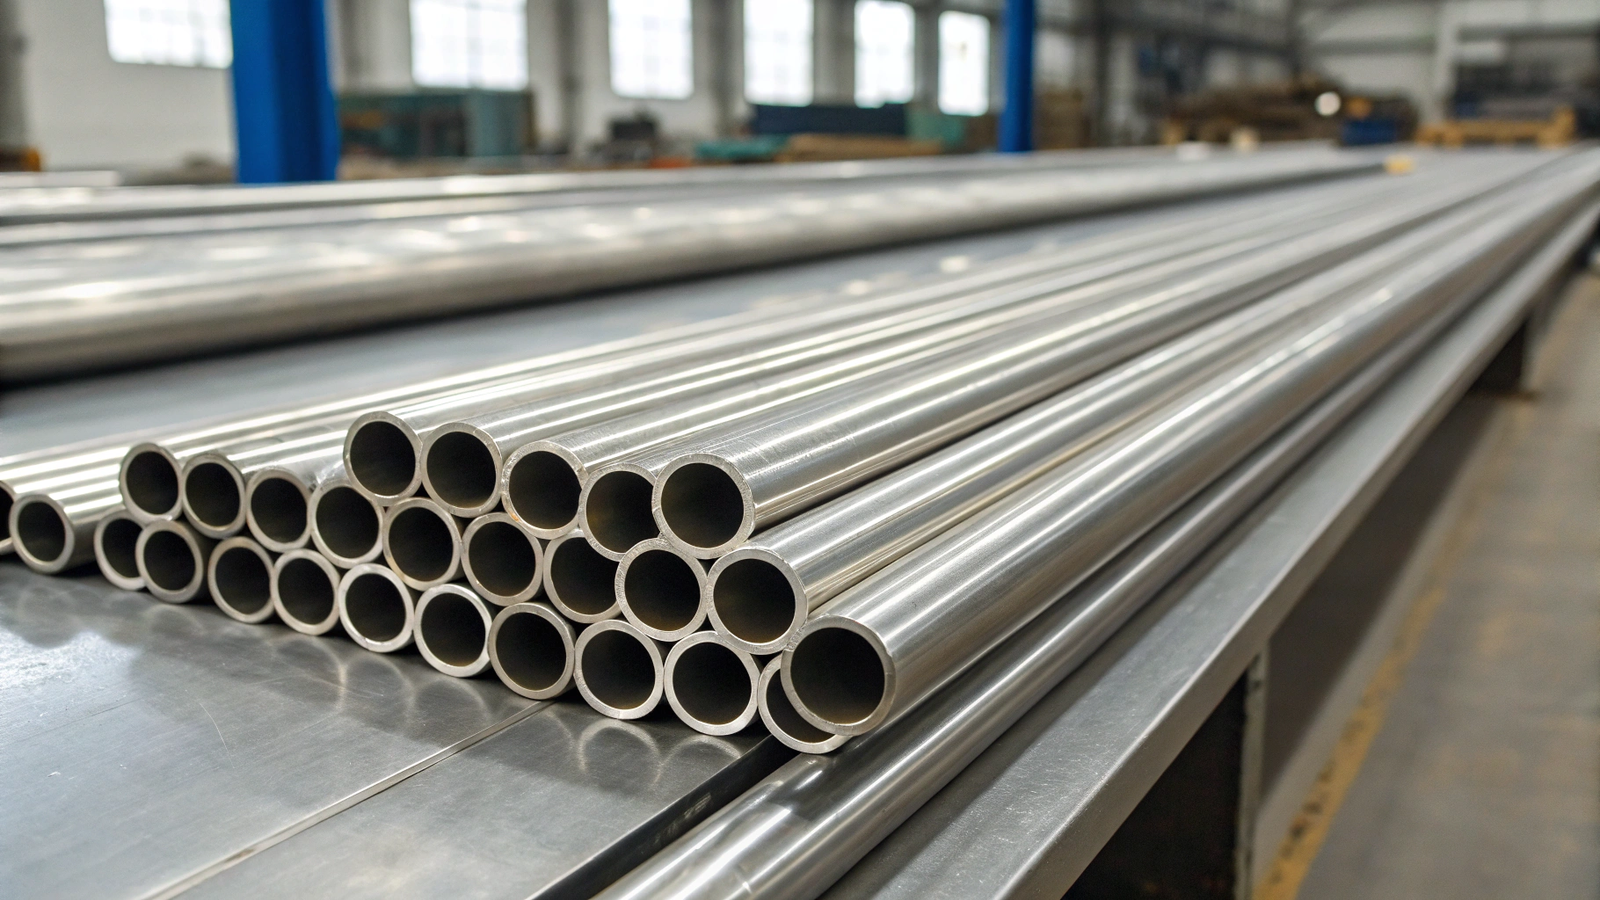
Aluminum tubing is typically made using the extrusion process. Hot aluminum billet is pushed through a die with a specific shape, often using a mandrel inside the die to create the hollow center needed for a tube.
This process allows for complex cross-sections and consistent dimensions. Let's explore how this works in more detail, covering the steps and related topics.
How Are Aluminum Tubes Extruded Specifically?
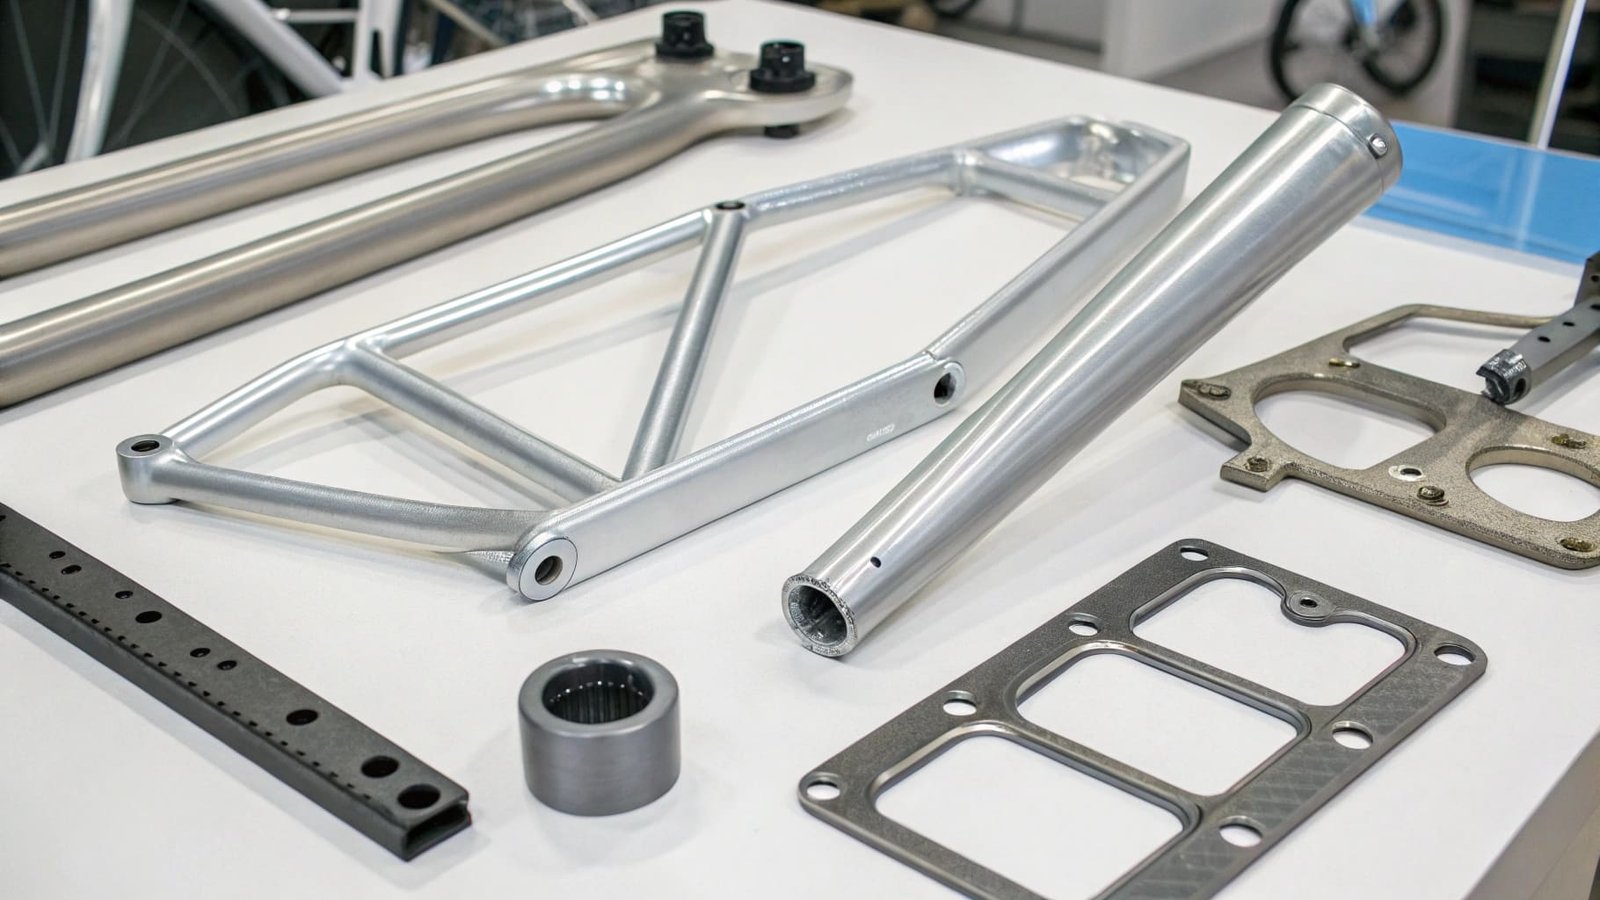
You know extrusion creates shapes, but how does it make a hollow tube? Understanding this specific method helps appreciate the precision involved and why certain shapes are easier or harder to produce accurately. Failure to grasp this can lead to unrealistic design requests.
Tube extrusion uses a special die set. It includes an outer die for the tube's outer shape (OD) and an internal mandrel or piercing tool held perfectly centered. This mandrel forms the tube's inner shape (ID) as the aluminum flows around it.
!
Dive Deeper Paragraph: The Tube Extrusion Method
Making a seamless aluminum tube requires precision tooling within the extrusion press. Here's a more detailed look:
- The Die Setup: The key difference from extruding solid shapes lies in the die assembly.
- Solid Die: For bars or simple shapes, aluminum flows through a single shaped opening.
- Hollow Die (for Tubes): This involves multiple components. Common methods include:
- Porthole Die: The aluminum billet is split and flows around bridge supports holding a central mandrel. The metal welds back together under pressure before exiting the die around the mandrel tip, forming the hollow. This is common for multi-void hollows or complex shapes.
- Spider/Bridge Die: Similar to porthole, supports hold the mandrel.
- Floating Mandrel (Piercing): A separate piercing mandrel pushes through the solid billet just before the die, creating the hollow. This is often used for simpler, larger seamless tubes. As a forging company, we appreciate the forces involved in shaping metal like this, though extrusion differs from our forging process.
- Material Flow: Managing the aluminum flow evenly around the mandrel is crucial. Uneven flow can lead to variations in wall thickness or weak points where the metal streams rejoin. Die design is complex to ensure proper metal flow and welding.
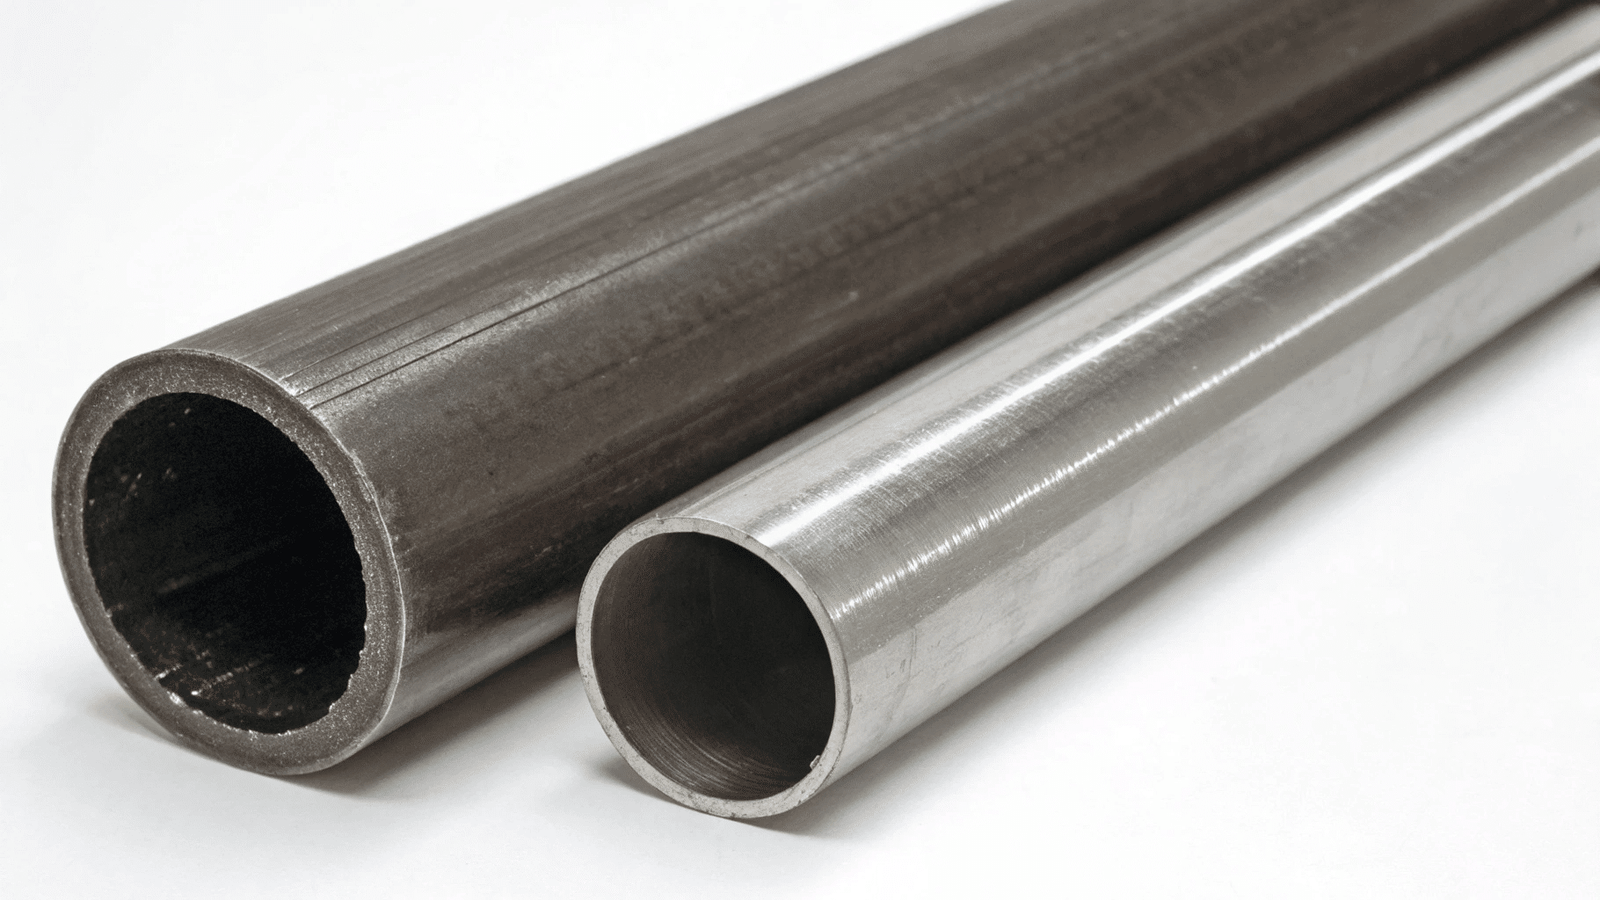
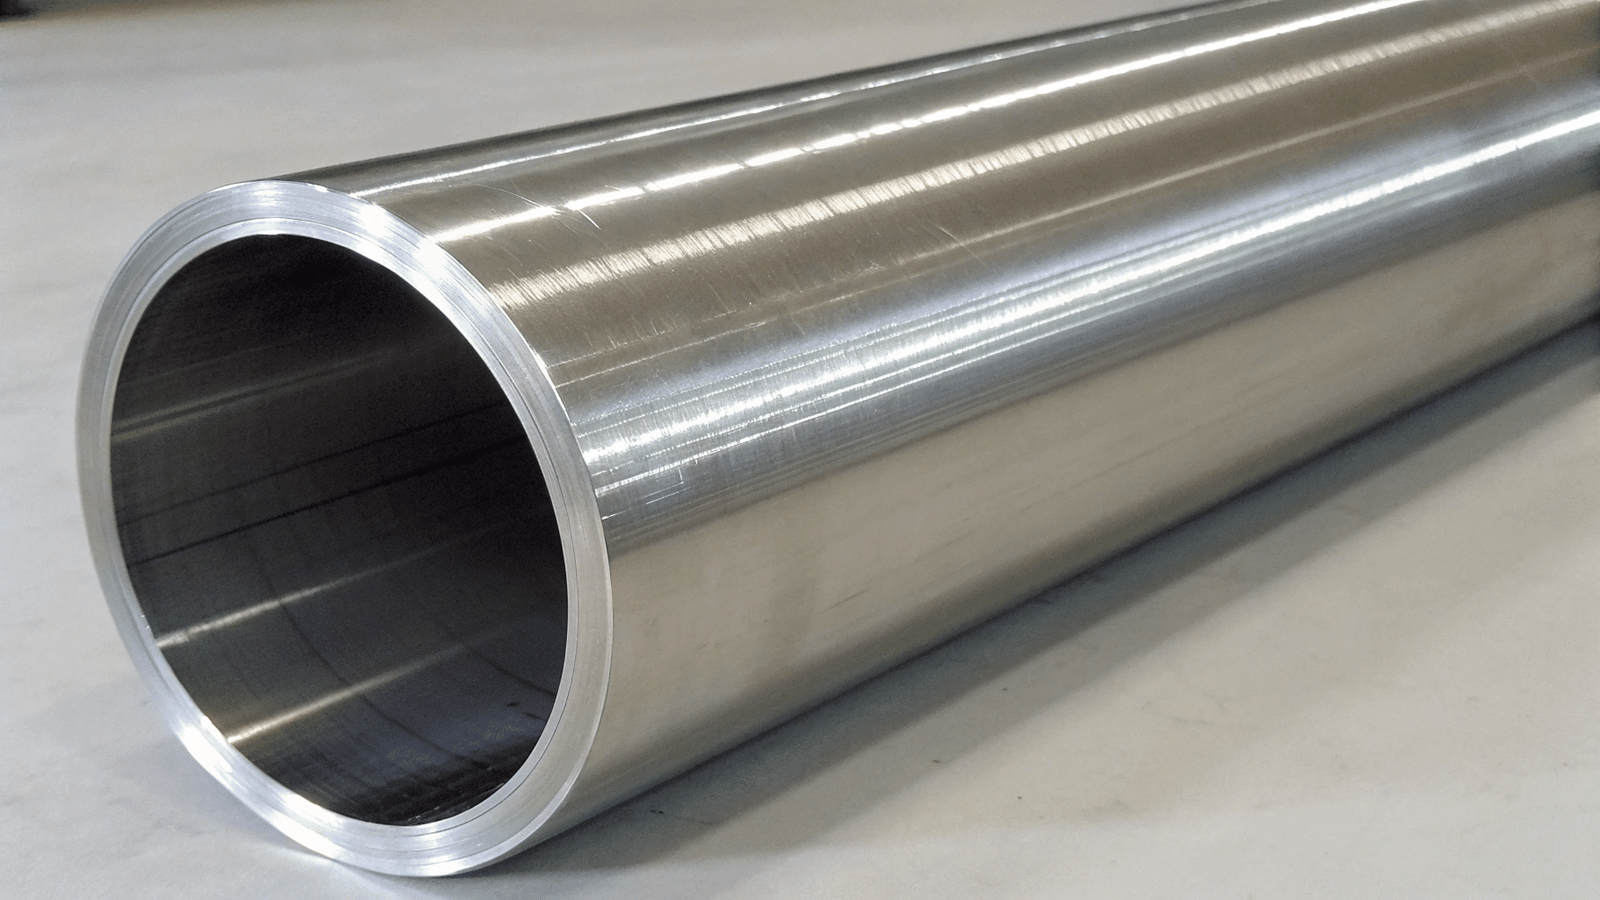
- Seamless vs. Seamed: Extrusion typically produces seamless tubes, meaning they have no welded seam along their length. This offers uniform strength and pressure resistance compared to seamed tubes made by rolling and welding flat stock.
Comparison of Tube Forming Concepts:
| Feature | Extrusion (Seamless Tube) | Rolling & Welding (Seamed Tube) |
|---|---|---|
| Process | Pushing hot billet through die/mandrel assembly | Bending flat strip, welding the edges |
| Structure | No seam, uniform material properties | Longitudinal weld seam |
| Pressure | Generally better pressure handling | Weld area can be a potential weak point |
| Shapes | Can create complex cross-sections | Typically limited to round/simple shapes |
| Typical Use | Structural parts, fluid lines, precision apps | General structural, lower pressure fluids |
Understanding these methods helps clarify why seamless extruded tubes are often preferred for demanding applications requiring structural integrity or pressure containment.
How Do You Extrude Aluminum Generally?
You might wonder about the basic process behind making any aluminum shape, not just tubes. Not knowing the fundamentals can make it hard to discuss requirements or troubleshoot issues with suppliers effectively. Let's cover the standard extrusion steps.
Aluminum extrusion involves heating a cylindrical aluminum billet and pushing it with a powerful ram through a shaped steel die. The aluminum takes the shape of the die opening as it emerges on the other side.

Dive Deeper Paragraph: The Standard Aluminum Extrusion Cycle
The extrusion process transforms a simple aluminum log (billet) into complex profiles. Here's a breakdown of the typical steps involved:
- 1. Billet Preparation: It starts with a solid or hollow cylindrical billet, usually cut from a longer log of a specific aluminum alloy. The alloy choice (like 6061, 6063, etc.) depends entirely on the final product's required properties (strength, finish). The billet must be the correct diameter for the press container.
- 2. Preheating: The billet is heated in an induction furnace or oven to a specific temperature, typically between 400°C and 500°C (750°F - 930°F). The die is also heated. This makes the aluminum soft enough to be pushed through the die but not molten. Precise temperature control is vital for material properties and surface finish.
- 3. Loading & Extrusion: The heated billet is transferred to the extrusion press. A lubricant might be applied. A powerful hydraulic ram pushes the billet against the die with immense pressure (hundreds or thousands of tons). The soft aluminum has nowhere else to go and flows through the die opening(s), emerging with the desired profile. For tubes, this is where the mandrel shapes the inside.
- 4. Cooling (Quenching): As the profile exits the die, it's cooled rapidly using air or water sprays (quenching). This controlled cooling helps lock in the desired metallurgical properties, especially for heat-treatable alloys.
- 5. Stretching & Cutting: After cooling, the long extrusion is moved to a stretcher. It's gripped at both ends and stretched slightly. This straightens the profile, corrects minor twists, and aligns the internal grain structure (work hardening), improving strength. Finally, the extrusion is cut to the required lengths.
- 6. Aging (Heat Treatment): For many alloys (like the common 6xxx series), extrusions undergo an aging process (precipitation hardening). This involves heating them in an oven at a lower temperature for a set time (e.g., ~180°C / 350°F for 6061-T6) to achieve full strength and hardness (T5 or T6 temper).
This sequence ensures the final aluminum extrusion meets the specified dimensional tolerances and mechanical properties.
What Is the Best Way to Join Aluminum Tubing?
So you have your aluminum tubes, but now need to connect them. Choosing the wrong joining method can lead to weak joints, corrosion issues, or added weight, compromising your entire assembly. What works best?
The "best" way depends on the application. Welding (TIG or MIG) offers strong, permanent joints. Mechanical fasteners (bolts, rivets) allow disassembly but add weight. Adhesives provide clean lines but have strength limits. Brazing is another option for permanent bonds.

Dive Deeper Paragraph: Evaluating Joining Methods
Selecting the right method to join aluminum tubing involves balancing strength needs, appearance, cost, environment, and potential disassembly requirements. Let's compare the common techniques:
- Welding (TIG/MIG):
- Pros: Creates strong, permanent, often leak-proof joints. Good for structural integrity.
- Cons: Requires skill and specialized equipment (especially TIG). The heat affects the metal's temper near the weld (Heat Affected Zone - HAZ), potentially weakening it locally unless post-weld heat treatment is done. Needs careful cleaning to remove the oxide layer before welding. Distortion can occur.
- Best For: Structures needing high strength, permanent connections, pressure applications.
- Mechanical Fasteners (Bolts, Rivets, Screws):
- Pros: Allows for disassembly and reassembly. No heat distortion or weakening of temper. Relatively simple tools needed.
- Cons: Adds weight and bulk. Holes create stress concentration points. Potential for galvanic corrosion if dissimilar metals are used without isolation. Joints might not be perfectly sealed.
- Best For: Assemblies needing future access/modification, non-critical structural parts, joining to other materials.
- Structural Adhesives:
- Pros: Distributes stress over a larger area. Provides clean look with no visible fasteners or weld marks. Can join dissimilar materials and provide sealing/insulation. No heat distortion.
- Cons: Strength varies greatly by adhesive type and surface prep. Requires meticulous surface cleaning and preparation. Cure time needed. Performance can degrade at high temperatures or with certain chemical exposures. Generally lower peel/impact strength than welds.
- Best For: Lightweight structures, applications where appearance is critical, bonding thin sections, joining dissimilar materials.
- Brazing:
- Pros: Creates strong, permanent joints using a filler metal with a lower melting point than aluminum. Less heat input than welding, reducing distortion and HAZ issues. Good for complex shapes and joining thin to thick parts.
- Cons: Requires precise temperature control and thorough cleaning. Filler metal choice is critical. Joint strength is typically lower than a good weld.
- Best For: Complex assemblies, leak-tight joints where welding is difficult, joining dissimilar aluminum alloys sometimes.
Joining Method Quick Comparison:
| Method | Strength | Permanence | Disassembly | Heat Effect | Appearance | Skill Level |
|---|---|---|---|---|---|---|
| Welding (TIG/MIG) | High | Yes | No | High (HAZ) | Can be neat | High |
| Fasteners | Medium | No | Yes | None | Bulky/Visible | Low-Medium |
| Adhesives | Low-High | Yes | No | None | Very Clean | Medium |
| Brazing | Med-High | Yes | No | Medium | Clean | High |
Carefully consider the demands of your specific application before choosing a joining method. As suppliers, we often see customers needing to join the components we provide, so understanding these options is helpful.
What Are the 5 Steps of Extrusion?
You need a simple way to remember the extrusion process. Breaking it down into key stages makes it easier to understand the workflow and what factors influence the final product quality and cost. Missing a step leads to poor results.
The five main steps are generally: 1) Preparing the billet and die, 2) Preheating the billet and die, 3) The actual extrusion push, 4) Cooling the extruded profile, and 5) Post-extrusion operations like stretching, cutting, and aging.

Dive Deeper Paragraph: Detailing the 5 Core Stages
Let's elaborate on these five fundamental stages that take aluminum from a raw billet to a finished profile:
- Step 1: Preparation (Billet & Die)
- Billet: A log of the chosen aluminum alloy is cut to the appropriate length for the press and intended extrusion length. Its surface might be conditioned.
- Die: The steel die, which dictates the final shape, is manufactured, inspected, and often pre-heated to prevent thermal shock and ensure proper metal flow. For tubes, this includes the mandrel assembly. This stage is critical; a poorly designed or prepared die leads to defects.
- Step 2: Preheating
- Billet: The cut billet is heated uniformly to the optimal extrusion temperature (e.g., 400-500°C). This temperature varies significantly based on the alloy. Too cold, and excessive pressure is needed; too hot, and the material properties suffer.
- Container & Die: The press container (which holds the billet) and the die itself are also heated, typically to a slightly lower temperature than the billet, to facilitate smooth flow.
- Step 3: Extrusion
- The hot billet is placed in the press container. A lubricant (smut) may be applied to the billet or dummy block.
- The hydraulic ram pushes the billet against the die with high pressure.
- The aluminum flows through the die opening, taking its shape. The speed of extrusion is carefully controlled, as it affects the surface finish and properties.
- Step 4: Cooling (Quenching)
- As the profile emerges from the die, it enters a quench zone (air, water mist, water bath).
- Rapid, controlled cooling is essential, especially for heat-treatable alloys, to preserve a supersaturated solid solution state needed for later strength development (aging). The cooling rate must be appropriate for the alloy and profile thickness.
- Step 5: Post-Extrusion Operations
- Stretching: The cooled extrusion is gripped and stretched slightly to straighten it and relieve internal stresses.
- Cutting: The long extrusion is cut into desired final lengths.
- Aging (Heat Treatment): If required (e.g., for T5 or T6 temper), the cut lengths are placed in an aging oven for a specific time/temperature cycle to achieve final hardness and strength.
- Finishing: Additional steps like surface finishing (anodizing, painting, powder coating) or fabrication (drilling, machining) might occur.
Summary of the 5 Extrusion Stages:
| Stage # | Stage Name | Key Action | Purpose |
|---|---|---|---|
| 1 | Preparation | Cut billet, prepare/heat die | Ensure correct material & tooling setup |
| 2 | Preheating | Heat billet, container, die | Soften aluminum for flow, prevent thermal shock |
| 3 | Extrusion | Push billet through die | Form the desired profile shape |
| 4 | Cooling (Quenching) | Rapidly cool the emerging profile | Lock in metallurgical structure for strength |
| 5 | Post-Extrusion Ops | Stretch, cut, age (heat treat), finish | Achieve final dimensions, straightness, strength, appearance |
Understanding these core steps provides a solid foundation for discussing aluminum extrusion projects and requirements.
Conclusion
Aluminum tubing is made by pushing hot billet through a die with a central mandrel. This differs from general extrusion mainly in the die design. Joining methods include welding, fasteners, adhesives, or brazing, chosen based on need. The 5 key extrusion steps are prep, heat, push, cool, and post-processing.